Thrift Flip: $15 Dresser Paint Makeover
From dated thrift find to a statement piece in one weekend, with chalk-style paint and new hardware. Before, after and every step in between.

- Difficulty
- Medium
- Time
- 1 weekend
- Cost
- About $60
Shop the Post
Everything I used, in one place
Amazon
Chalk-Style Furniture Paint
No sanding or priming for most thrift-store finds. One coat covers well.
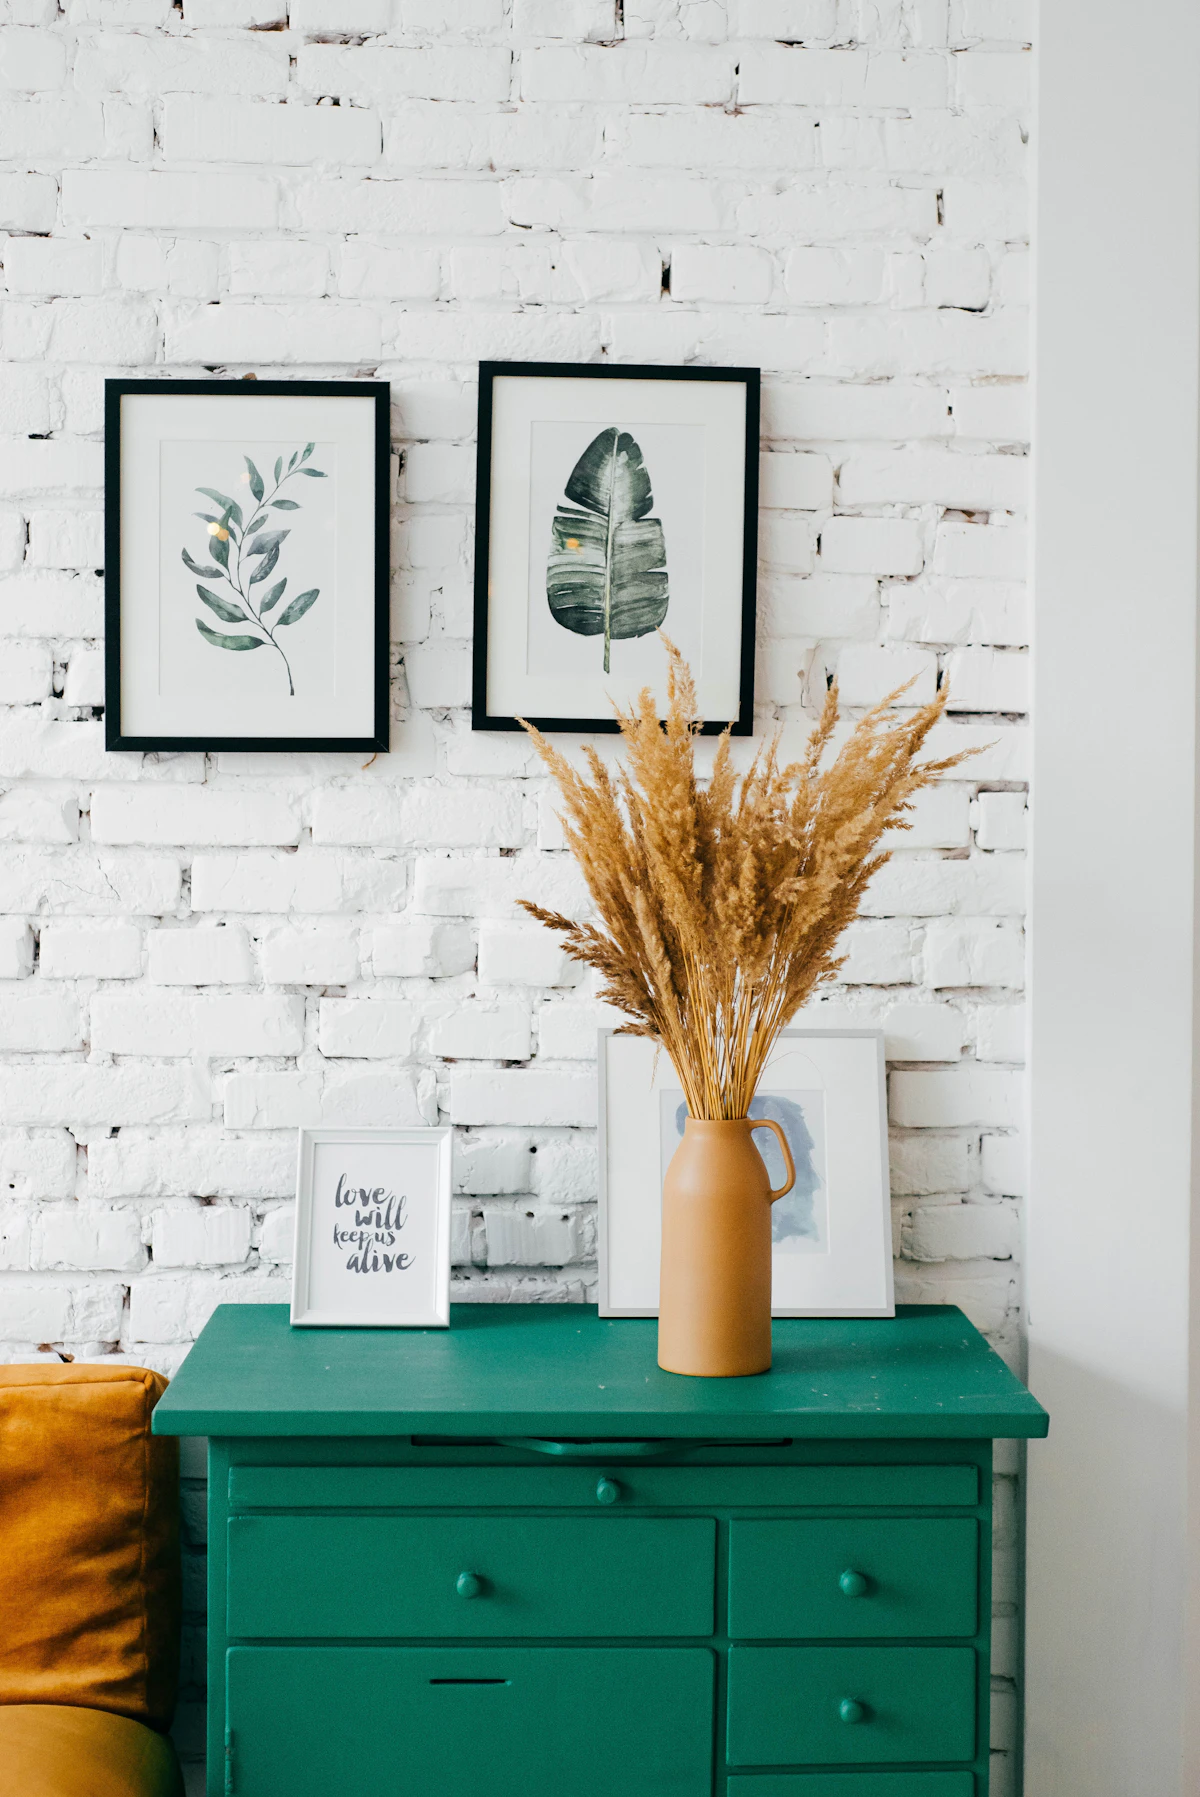
Shop nowI spotted this solid-wood dresser at the thrift store for $15. It was scratched, orange-toned and had one sticky drawer, and I loved it. Here’s how I brought it back to life.
Supplies
- Chalk-style furniture paint (1 quart covers a standard dresser)
- A good synthetic brush and a small foam roller
- Degreaser (a little dish soap works)
- Wood filler and a sanding block
- Clear matte topcoat
- New knobs or pulls
Step-by-step
- Clean it well. Scrub every surface with degreaser. Paint won’t stick to grime.
- Fix damage. Fill gouges with wood filler, let it dry and sand smooth.
- Scuff-sand glossy spots. Chalk-style paint usually doesn’t need primer, but a quick scuff helps with shiny finishes.
- Paint in thin coats. Roll large flat surfaces and brush the details. Two thin coats beat one thick one.
- Seal it. Two coats of clear matte topcoat protect the finish on high-use furniture.
- Add new hardware. This is the magic step. Hardware is the jewelry of furniture!
Fix that sticky drawer
Rub a candle or bar of soap along the drawer runners. It works like a charm on old wood drawers.
Total cost: $15 dresser + about $45 in supplies = a piece that looks like it cost $600.


